Personalized Email > Send Email
Step 1
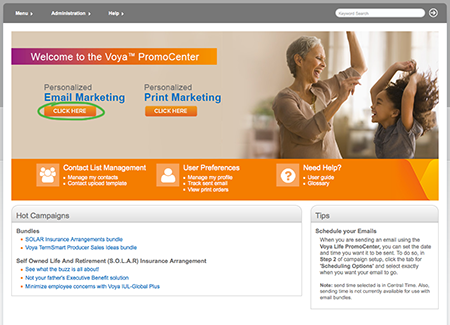
Select a TemplateClick the Click here button beneath Personalized Email Marketing on the home page.
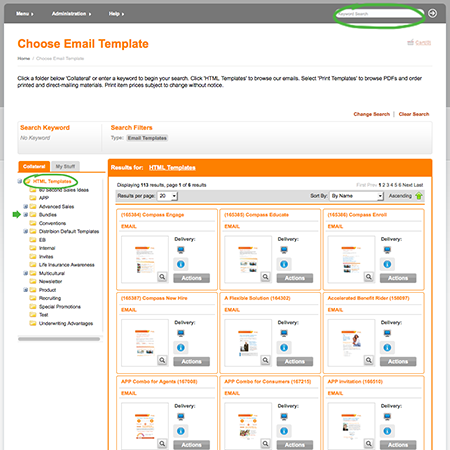
Filter templates by category on the left or using the keyword search at the top. You can even search by eship number. Preview or select a template from the search results pane.
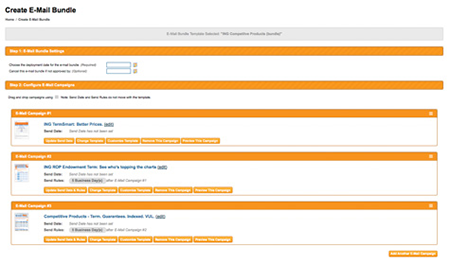
To create a “bundle” of multiple emails to schedule as an extended drip campaign, choose Bundles from the categories on the left. Then you can select from suggested pre-packed bundles or create your own — and schedule them to send at the intervals of your choosing.
Step 2
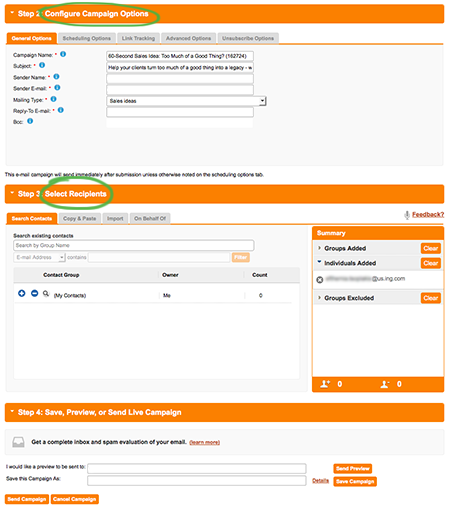
Configure Campaign Options and Select RecipientsBelow the personalized HTML, you can Configure Campaign Options by selecting any of the following tabs:
- General Options — subject is pre-approved. Sender name and email can be changed in your profile.
- Scheduling Options — schedule campaign to send at a later date. Please note scheduling times are in Central time.
- Link Tracking — rename links for ease of tracking
- Advanced Options — additional options for ease of tracking
Then choose your email list(s) in the Select Recipients area. These are the lists you upload in Contact Management.

Step 3
SendTo send to your email list(s), select Click to get Approval. Your submission will be reviewed and approved within 24–48 hours (2 business days) and will distribute immediately upon approval depending upon volume and whether you have scheduled it for a future date.
Step 4
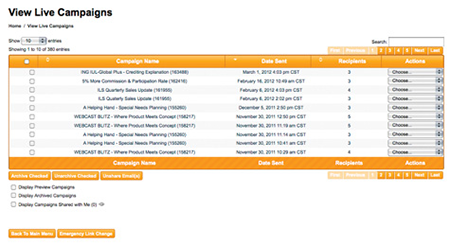
Track ResultsOn the homepage, click Track Sent Email to see who opened and clicked through your email. Select View Tracking from the Actions drop-down selector. Here you also have the option to Resend to Additional Recipients the same campaign.
