Get Started
Step 1
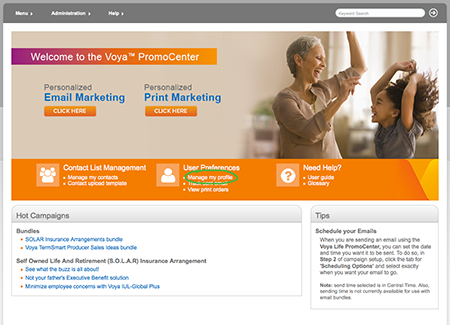
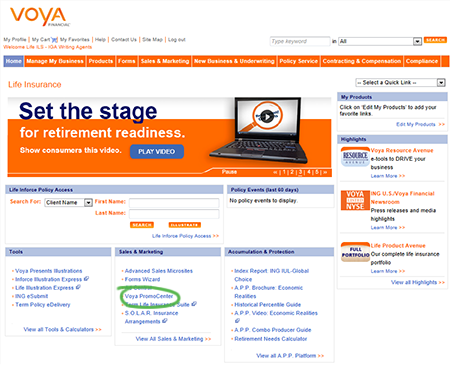
Log onLog into Voya for Professionals (Voya Pro) (VoyaProfessionals.com). From the homepage click on Voya PromoCenter in the Select a Quick Link drop-down menu.
Anywhere the personalize link shows up in the marketing materials section of Voya Pro, this too will take you to the PromoCenter.
Step 2
Set Up User Profile*Under the User Preferences icon, click Manage my profile. Here you will enter the information used to personalize your materials; it will be saved for all future use. Update as needed.
- Make certain to set your preferred time zone for sending planned emails — the system defaults to Central time.
- Be sure to follow file size and resolution recommendations when adding your photo and logo. Save profile.
*Voya For LifeSM PromoCenter templates require a specific Voya For Life which is provided to distributors during the implementation process. Distributors will need to input their specific Voya For Life URLs into their Profile on the Voya PromoCenter so that the appropriate links within the templates work and can be approved. Distributors should contact their Voya Life Sales representative to start the Voya For Life implementation process. If you require the use of more than one Voya For Life URL, be sure to wait for approval of your email before changing the Voya For Life URL in your Profile for sending your next Voya For Life email.